Creating Your Own Tab
We'll be creating a new tab that contains a stage controller. I assume you don't have familiarity with React (opens in a new tab), the JavaScript library we use to create the user interface.
Before you start, I highly recommend using VS Code (opens in a new tab) to edit files, especially for JavaScript, and installing the Copilot Extension (opens in a new tab) — it's free for students and will make you code much faster.
Run the app
As in the Getting Started tutorial, we run the simulator app.
app = Simulator_App();One nice part about React is we can make changes to the code while the app is running and we'll see the changes in real time.
Creating a basic tab
In React, we use components to organize our code.
For our new tab, let's make a component called Stage. In src/frontend/src/tabs, add a new file called Stage.jsx, and paste the following code
// JavaScript, unlike Matlab, requires explicitly importing files
import React from "react";

const Stage = () => {
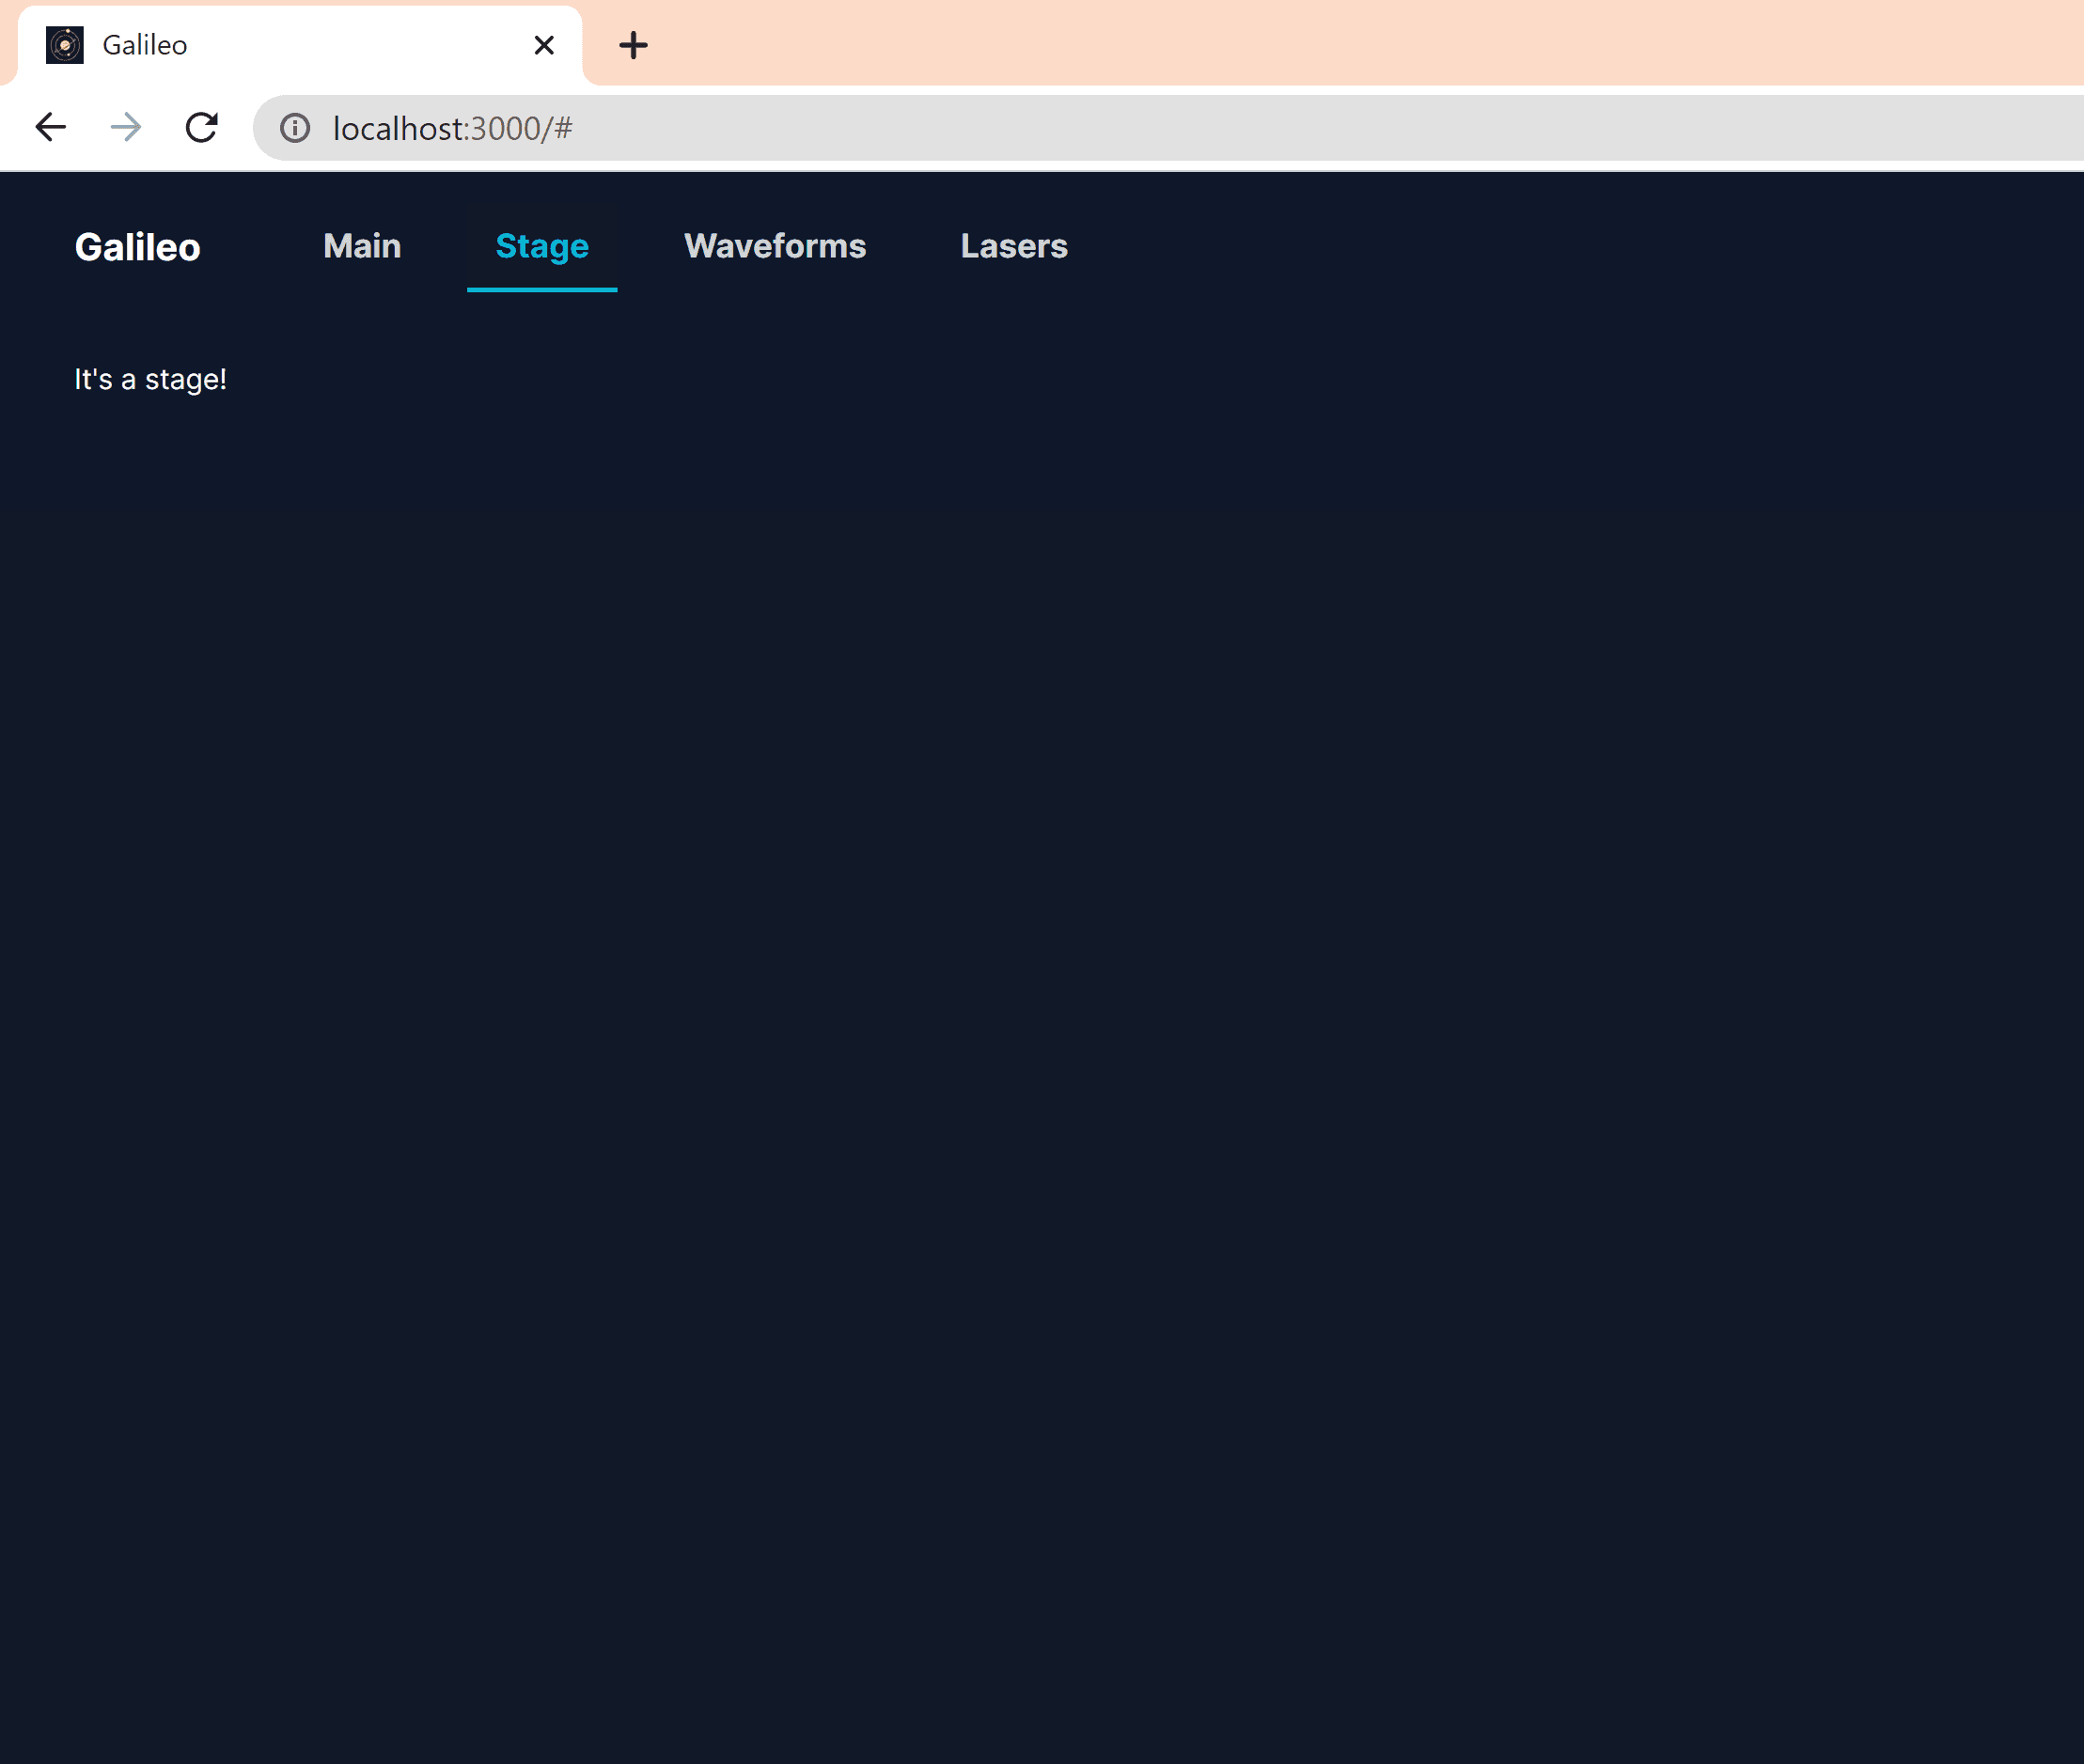
  return <div>It's a stage!</div>;
};

export default Stage;
Stage is a function which returns text to be displayed. We use <div> and </div>, which stands for divisor, to enclose our text to be displayed.
At the end, we export the Stage function so that it's accessible to other files.
Now, let's add the new stage tab to the file src/frontend/src/hooks/useTabs.jsx. First, import the new tab at the top of useTabs.jsx.
import Stage from "./tabs/Stage";

// ...
Then, we put Stage in the allTabs object:
// ...

let allTabs = {
  Main,
  Stage,
  // ...
};

// ...
Save the file, and head to http://localhost:3000 in the browser. We should see our new stage tab!

Connecting our stage to MATLAB
Let's now add controls for our stage. For this tutorial, we'll only control the x axis of the stage.
First, we'll pull the stage position variable from MATLAB. Let's update our Stage.jsx file to
import React from "react";
import { TextInput } from "../Utils"; // import the TextInput component from Utils.jsx
import { useMatlabVariable } from "../matlabComms/matlabHelpers";

const Stage = () => {
  const [pos, setPos] = useMatlabVariable("pos", "Stage"); // create a matlab-linked variable to store the position of the stage
  const x = pos.x; // extract the x position from the pos variable

  // create a function to update the x position of the stage
  function setX(newX) {
    setPos({ x: newPos });
  }

  console.log({ pos }); // print the stage position to the console

  return <div>It's a stage!</div>;
};

export default Stage;
We use the useMatlabVariable function to extract the pos property of the Stage MATLAB class.
We then create a function setX which updates the x property of the pos variable. We'll use this function later to update the stage position.
Finally, we print the stage position to the console. You can view the console by pressing Ctrl + Shift + I in the app.
Updating the user interface with the stage position
Now, let's replace our text that is displayed with a component that shows the stage position.
import React from "react";
import { TextInput } from "../Utils"; // import the TextInput component from Utils.jsx
import { useMatlabVariable } from "../matlabComms/matlabHelpers";

const Stage = () => {
  const [pos, setPos] = useMatlabVariable("pos", "Stage"); // create a matlab-linked variable to store the position of the stage
  const x = pos.x; // extract the x position from the pos variable

  // create a function to update the x position of the stage
  function setX(newX) {
    setPos({ x: newPos });
  }

  // console.log({ pos }); // print the stage position to the console

  return (
    <div>
      <TextInput
        name="X"
        value={x}
        setValue={function (newX) {
          setX(newX);
        }} // when there is a change in the input box, update the state variable
        units="µm"
        className="w-24" // set the width of the input box to 24
      />
    </div>
  );
};

export default Stage;
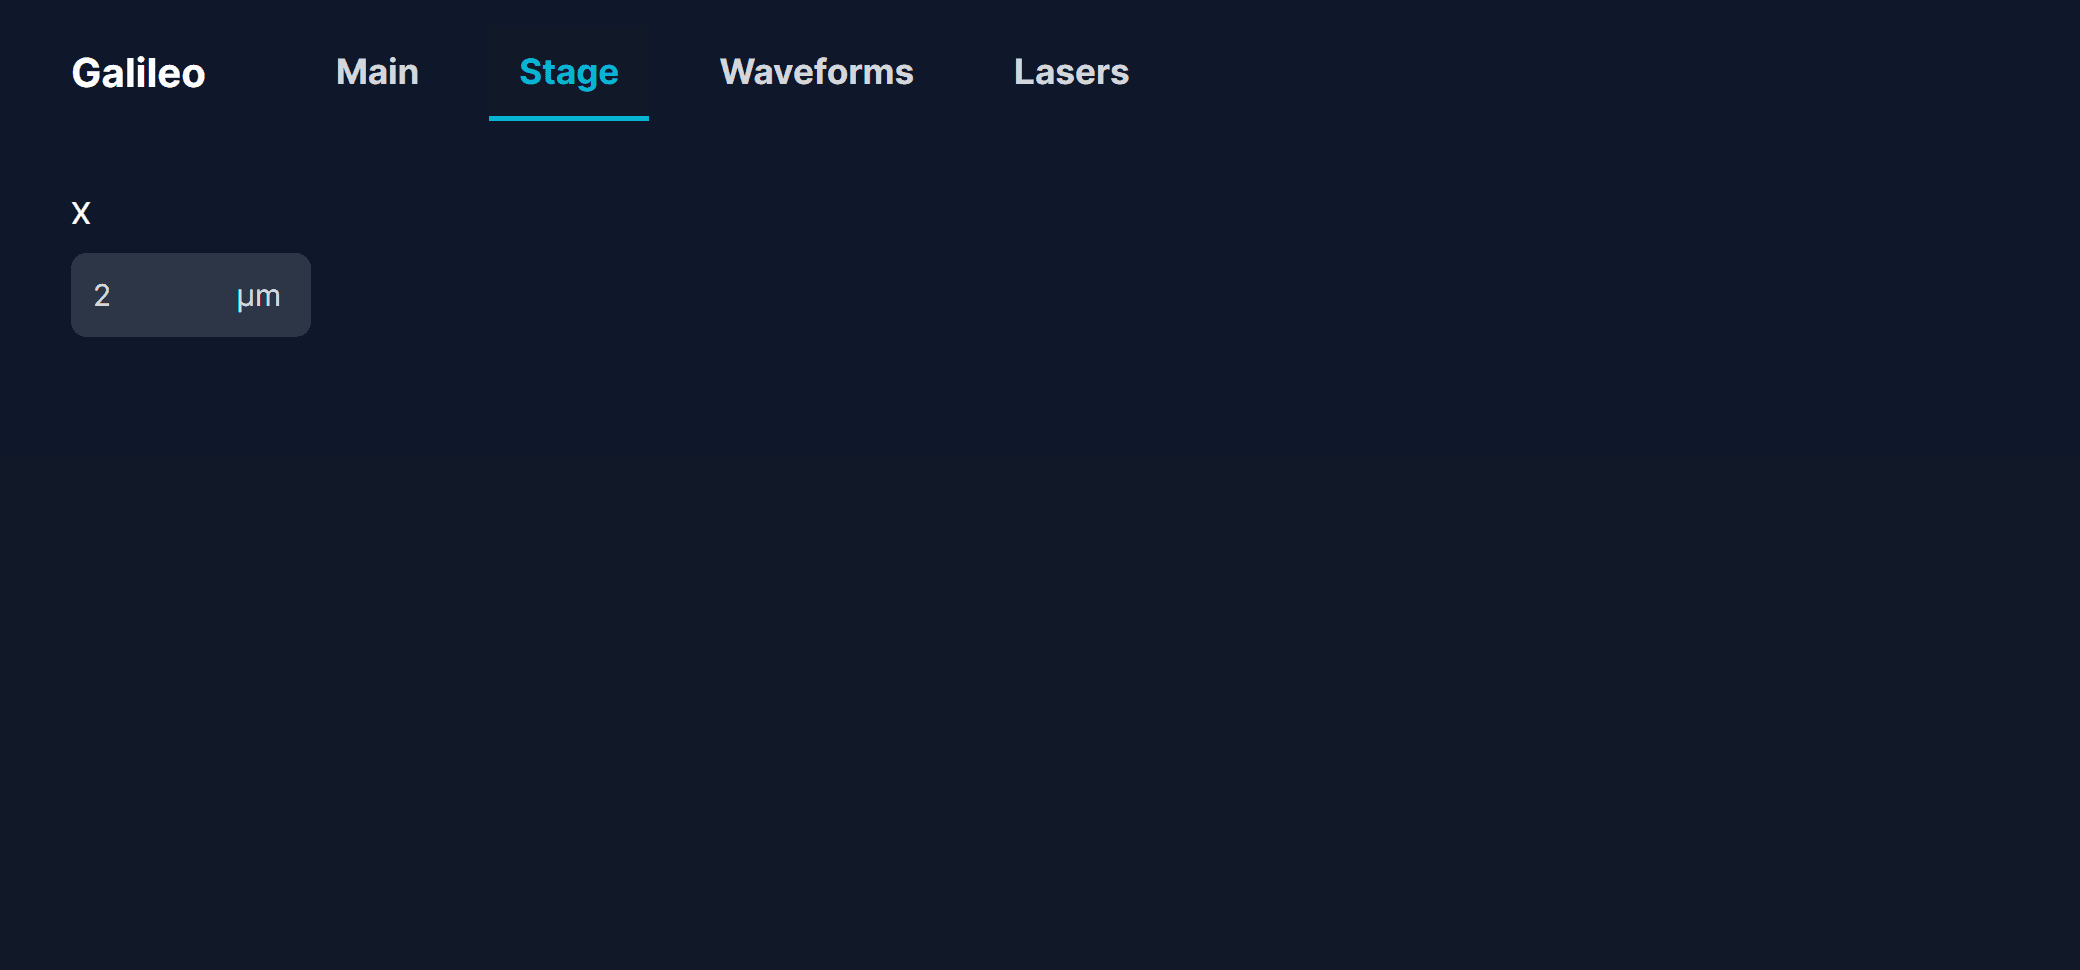
We import the TextInput component from Utils.jsx. This component is a text field that allows us to input a number and units.
We pass the x value into the TextInput component by writing value={x}. We also pass a function into setParameter, which tells us how to update
the x variable when there is a change to the text field. Notice how we use setX(newX) instead of x = newX.
Finally, we set the width of the text field to 24 by adding className="w-24". We can add additional styling to the component by adding more things to className.
For example className="w-24 bg-red-700" would set the text area to be red.
See the Tailwind CSS documentation (opens in a new tab) for additional styles you can add.

And there we have it! A stage controller!